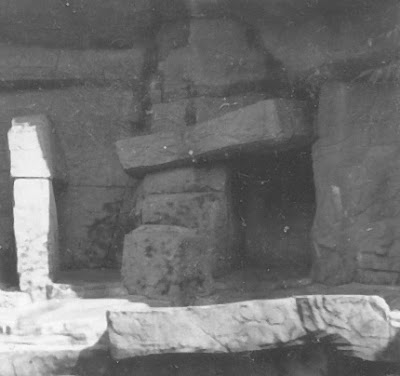
Fortunately though, we live in a time where technology can come to the rescue, sortof. Infrared Scanning can remove dust and scratches automatically though only from semi-transparent original media and it's only a feature on rather expensive scanners. Photo Editing programs usually have a 'Dust and Scratch Removal' filter - but often that ends up as too strong, or not strong enough.
That leaves hours and hours of painstaking manual correction -- or does it?
More recent releases of Photoshop have 'Content Aware' repairing, which does a fairly good job of doing, well, exactly what the name implies. Depending on the exact type and extent of the offending marks, this might be simultaneously overkill (the individual damage points aren't very large) and inadequate (the damage is spread out over the entire photo).
As is often the case, there is no *single* solution. Nor is something entirely automated the best way to go. At the same time, unless you only have a handful of photos (and really, how often is that?) you want something that doesn't take too long for each image.
After a *lot* of practice I found a method which strikes a rather comfortable and acceptable balance between time/tediousness and final quality.
It assumes a basic knowledge (and quality) of Photo Editing programs - duplicating layers and creating/using masks - as well as being able to adjust filter settings to produce a desired result. If you are confused over any specific step, please leave a comment, or do a Google Brand Search™ for a more detailed explanation. I'm avoiding specifics here because the exact menus and settings vary a lot from program to program.
1) Start by doing a 'Dust/Scratch Removal' at settings that improve the image somewhat but do not affect the image in undamaged areas.
 Scratch Removal on lighter settings removes much of the small stuff, but doesn't touch the bigger damage.
 2) Duplicate the lightly repaired layer and do 'Dust/Scratch Removal' again, this time with the goal of removing all the imperfections.
 Using the more aggressive settings for dust/scratch removal repairs the picture, but also removes a lot of the detail - even in undamaged locations.
 3) Mask the 'over-repaired' layer (Hide all) and selectively reveal it in areas where the spots and scratches are visible. Note the white dots in the mask (far right) in the image below.


No comments:
Post a Comment